
Building a website from scratch may seem intimidating, but with the right knowledge and resources, it’s surprisingly easy in 2024. Every day, new technological developments increase the accessibility of web development for anyone wishing to create a website from inception.
In this blog post, we’ll cover everything on building a website from scratch that you need to know – from selecting a domain name to programming a distinctive design – so that when you’re done, your site looks stunning and prepared for the global audience to explore.
Whether you’re creating something simple or complex, running an online business, or launching a digital resume – writing HTML/CSS by hand will help bring professional results in no time. So let’s get started on how you can build a website from scratch in 2024.
How to secure a website?
A website must be secure if it is to be shielded from various cyber threats like hacking, malware, and data leaks.
You can secure your website from external cyberattacks and other threats by keeping in mind the following things
1. Update your software regularly
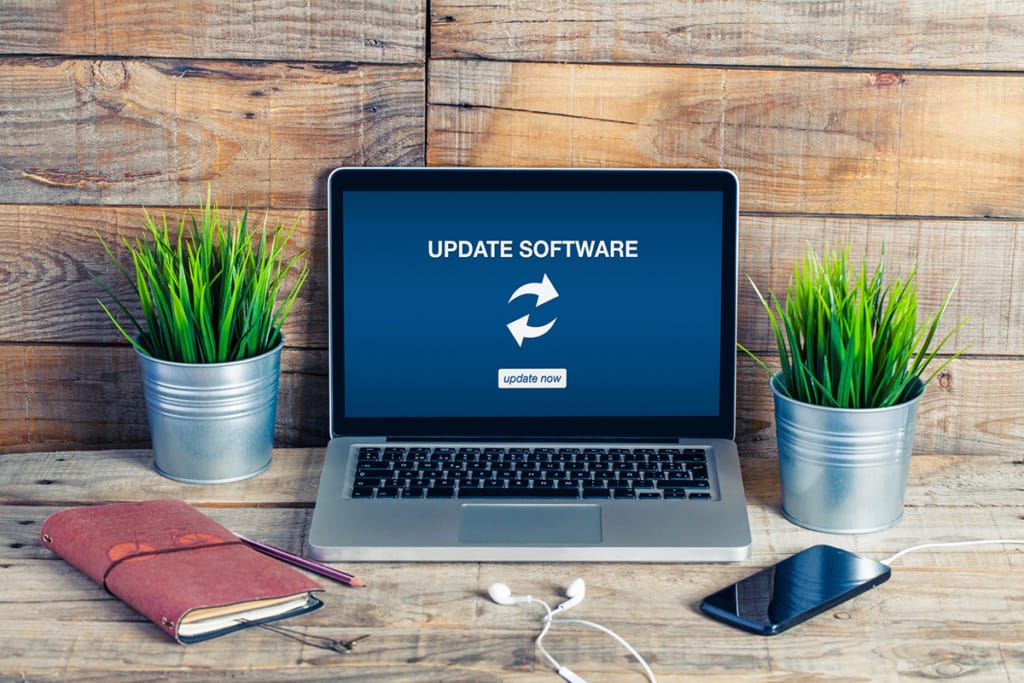
Your website’s software, such as the content management system (CMS) and the plugins that you installed, needs to be updated frequently as and when the new updates come to ensure that security bugs are regularly taken care of.
2. Use HTTPS
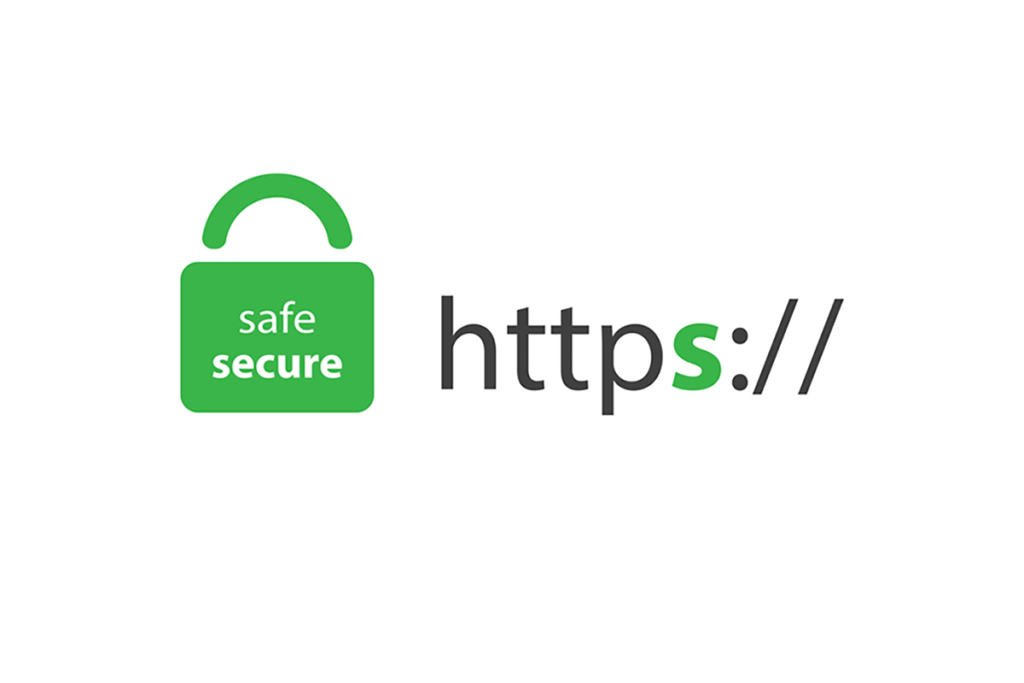
A secure and encrypted link is established between the user’s browser and the web server thanks to HTTPS (Hypertext Transfer Protocol Secure), a combination of the HTTP standard protocol and the SSL/TLS encryption certificates.
Cyber dangers like man-in-the-middle assaults, phishing, eavesdropping, and data tampering are all prevented by HTTPS.
It boosts the confidence of users that they are interacting with a trustworthy website rather than one that is scamming them or maliciously trying to steal their data.
3. Use strong passwords

Create complicated passwords using a mix of capital and lowercase characters, numbers, and symbols. Avoid using common words or phrases, and don’t reuse passwords.
4. Limit access

Limit access to your website’s backend to only those who need it. Implement two-factor authentication (2FA) to increase protection.
5. Backup regularly

Regularly backing up your website’s data is important in case of a cyber-attack or accidental data loss. Store your backups in a secure location.
6. Use security plugins

Install security extensions to shield your website from malware and other online dangers.
Website cost in India
Making a website is an essential first step for businesses or companies to take in order to create their online presence strong and visible and reach a wider audience.
The cost of website making in India varies depending on the type and complexity of the website. A simple website can cost as low as Rs. 5,000, while a complex website can cost up to Rs. 1 lakh or more.
Here are some factors that determine the cost of website making in India:
Domain name and hosting

Your website’s domain name serves as its location, and hosting is where the files for it are kept. The cost of a domain name and hosting varies from Rs. 1,000 to Rs. 10,000 per year.
Design and development

The complexity, quantity, and type of features needed for a website determine its design and production costs. A basic website with a simple design and a few pages can cost Rs. 5,000 to Rs. 20,000.
However, e-commerce website cost in India that includes payment gateway integration, and a customized design can cost upwards of Rs. 50,000.
Content creation

Every website needs content, and the expense of creating that content varies depending on what kind of content is needed. A website with rudimentary content can run between Rs. 5,000 and Rs. 10,000, whereas a website with high-quality, SEO-optimized content can run between Rs. 50,000.
Maintenance and support

Once the website is operational, it needs ongoing assistance and maintenance to stay current and secure. The cost of maintenance and support can vary from Rs. 1,000 to Rs. 10,000 per year, this cost varies depending on the complexity of the website and the support required.
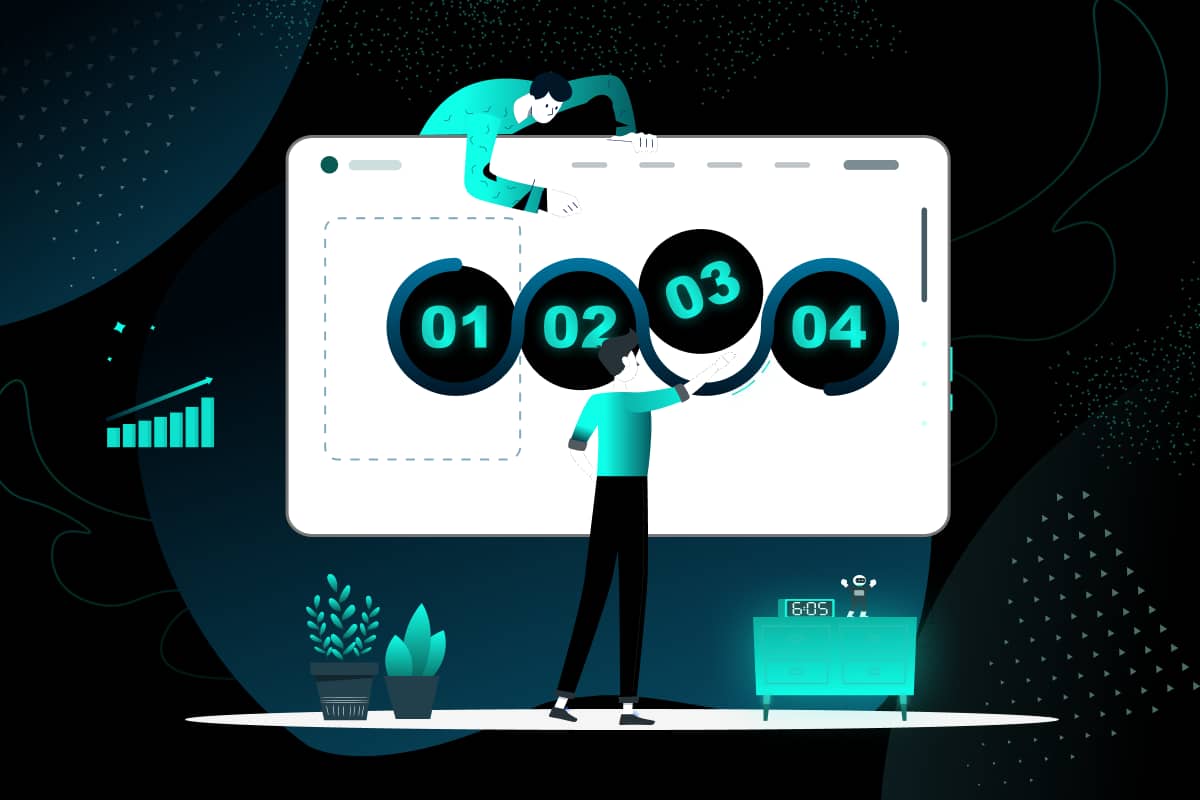
How to build a website from scratch in 2024
Step 1: Choosing the right website builder

When you have no prior experience with coding, web design, or technical knowledge it becomes difficult to select the best website builder for your company. With so many choices, it’s simple to become confused by the features, costs, and technological lingo.
However, selecting the right website builder is crucial for your business’s online presence and success.
Here are some factors to consider when choosing the right website builder:
Ease and simple to use: It should be easy to use and not require a website creator to have any coding expertise. Look for drag-and-drop editors, pre-designed templates, and intuitive interfaces.
Customizability: While a pre-designed template can save time and effort, it should also be customizable to reflect your brand identity.
Features: Make sure the website builder offers essential features such as mobile optimization, SEO tools, e-commerce integration, and social media integration.
Pricing: The pricing should be taken into account when choosing a website maker. Evaluate the features and prices of various options while selecting the website builder.
Here are some of the popular website builders:
Wix

Wix is a well-liked website builder that provides a drag-and-drop editor, lots of pre-made templates, and different customization choices. Also, it has some additional features like social media integration, e-commerce integration, and smartphone optimization.
Wix offers different pricing plans, including a free plan.
GoDaddy

GoDaddy is a website generator that provides a user-friendly editor and a large selection of pre-made templates. It offers features such as e-commerce integration, mobile optimization, and SEO tools. GoDaddy offers affordable pricing plans.
Shopify

Shopify is a website builder specifically designed for e-commerce businesses. It offers features such as payment gateway integration, inventory management, and shipping options. Shopify has a higher price point than other website builders, but it offers robust e-commerce features.
How can we assist you?
We at Wilson Wings can assist you in selecting the right website builder for your business. Our team of knowledgeable professionals is here to help you through the procedure of website construction and make sure that your decisions are well-informed and satisfy the particular needs of your business.
With their assistance, you can easily navigate the process complexity and identify the best option for your company.
Let us help you reach your goals and achieve success. We offer website design and development services that can help your business stand out online. Contact us today to learn more!
Step 2: Sign Up for a suitable plan as per your needs

The choice of the best hosting plan that meets your needs comes next after you’ve made the decision to create a website. Selecting the appropriate plan for your website is crucial to ensure smooth functioning and optimal performance.
There are numerous hosting plans available in the market, and choosing one can be overwhelming. However, by understanding your website’s needs and the resources required to run it efficiently, you can select the most suitable plan.
To sign up for a hosting plan that suits your needs, remember the following tips:
1. Evaluate your website’s requirements

You must decide the kind of website you want to build (for eg, eCommerce website, Business website, Blog website, Portfolio website, Event website, Personal website, etc.), the features you require for your website type, and the volume of visitors you anticipate to be on it.
2. Choose the correct hosting type

The best hosting type to choose from is shared hosting. However, there are other hosting types also like VPS hosting, dedicated hosting, and cloud hosting, apart from other kinds of hosting plans. Pick any as per your convenience.
3. Compare hosting plans

Once you have identified the required resources and the type of hosting plan you need, compare the features and pricing of different hosting providers. Look for providers that offer the required resources, uptime, customer support, and security at reasonable prices.
4. Check for additional features

Some hosting plans come with additional features such as SSL Certificates, Website Builders, and Email Hosting. Take into account these attributes as they can ultimately help you save time and money.
5. Sign Up and configure

Once you have selected the hosting plan, sign up with the provider and configure your account. Make yourself well-versed with your provider’s terms and conditions, cancellation procedures, return procedures, as well as refund policies if any.
Step 3: Choose A Distinctive Domain Name

One of the most important stages in creating a website from scratch is picking a catchy domain name. People will enter your domain name into their web browsers to reach your website; it serves as the site’s virtual address.
Decide on a domain name that is simple to recall and pertinent to the information on your website.
Here are some suggestions on how to pick a memorable domain name for your website:
- Make it easy to remember
- Make it relevant
- Avoid copyright infringement
- Use keywords
- Consider your brand
Step 4: Choose a template

Selecting the ideal design template is an essential step when creating a website from scratch to make sure it appears polished and appealing. Choosing the best design template for your website can be difficult with so many options accessible.
Here are some pointers to assist you in selecting the ideal design template for your website:
- Consider your website’s purpose
- Choose a responsive design
- Look for customization options
- Check for compatibility
- Choose according to your budget
Step 5: Customize your template design

Customizing your template design can include various elements such as adding new pages to your navigation, changing the size, colors, and fonts of buttons, and adding new elements like contact forms and menus. You can also edit the images on your homepage gallery, choose a different color palette, and link/embed social media channels.
Customization enables you to adapt your website to meet your unique requirements while also enhancing its visual appeal. By consolidating new elements and new pages to your website, you can make it user-friendly and educational while providing easy access to all the data that your user need.
Your website can become more appealing to your target audience by altering the font and button sizes, color scheme, and font. It can assist you in developing a distinctive brand identification for your website that will help users remember it.
Moreover, customization is not limited to the initial design phase of your website. You might need to update your branding or show new products or services on your website as your company expands. You can quickly and easily make these changes thanks to customization instead of starting from zero.
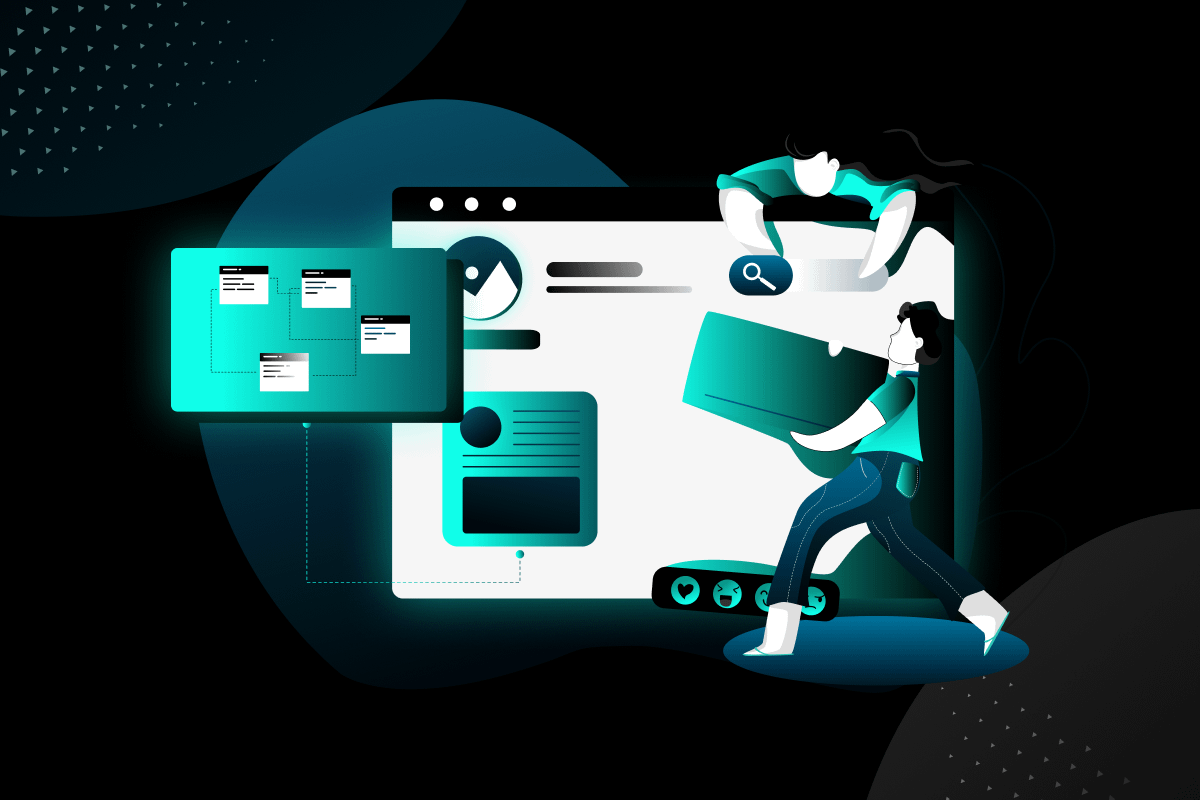
Step 6: Create and upload your content

A crucial stage in developing your website is creating and uploading your content. Make sure your content is interesting, educational, and pertinent to your viewers. This entails including text, pictures, and videos on your website.
Start by replacing any placeholder content on your template and use a drag-and-drop builder to move text and image boxes around each page. But before you start writing, it’s essential to consider how to make your copy the best it can be.
Here are our top 12 tips for writing successful content:
- Use short sentences and paragraphs
- Focus on benefits, not features
- Use bullet points and lists
- Make use of subheadings
- Use simple language and avoid jargon
- Use keywords wisely
- Write for your target audience
- Highlight the value of your products or services
- Use testimonials and social proof
- Avoid spelling and grammatical errors
- Check for readability
- Proofread and edit your content thoroughly
In addition to writing content, adding high-quality images is also important. Blurry images can turn visitors away, so it’s crucial to use high-quality images. If your website builder doesn’t have a bank of free images available, there are many free image sites online, such as Unsplash and Pixabay.
Step 7: Preview and test your website

It is imperative to fully test your website after you’ve done a preview. This will ensure that your website is operating as meant and serving all users’ needs, giving you peace of mind.
Ensure that all the links are working correctly, check for any broken images or videos, and review any form submissions that may be taking place. You can also run tests for speed and performance by using tools such as Google PageSpeed Insights.
You should also test how well your website responds to different devices and browsers. Verify how the design appears on desktop computers, tablets, mobile devices, and various online browsers like Chrome, Safari, and Firefox.
Many websites also use modern features such as JavaScript, so make sure that these are supported across all platforms as well.
To ensure content accuracy on your website, run a spell-checker program over the text content of your site. It is also important to check any numbers or facts used in articles or blog posts. It is best to verify everything before going live with this information because if it’s wrong, your website’s image could suffer.
Step 8: Make your website live

Once all necessary adjustments have been made and you are happy with the outcome, it is time to post your website for everyone to see. This is often referred to as “going live” or “publishing” your website.
Once you have gone live, it can take up to several hours for your website to be available worldwide due to DNS propagation times. During this time, you should use online tools such as Pingdom or GTMetrix to monitor performance and test if everything is working correctly across different devices and browsers.
Depending on where people access your site, they may experience slower loading times, so make sure that any images are optimized for speed and that any code has been minified where possible.
It’s also a good idea to set up Google Analytics now so that you can start learning more about the visitors to your site and how they engage with your website’s content. As you are able to track the insights like page views, time spent on each page, and bounce rate you can decide how to optimize your website according to the requirements in the future.
Likewise, you should also think about installing Google Search Console, or Google Webmaster tool, which enables you to submit sitemaps, view indexed pages in search results, request indexing of your pages, get alerts about possible problems with your website, and much more.
End note
So now you know how to build a website from scratch in 2024. In 2024, creating a website from scratch is easier than you might imagine. You just need to follow the above-mentioned procedures and tips to get a website for yourself.
Once you learn that your website is operational, don’t forget to promote it on social media and other websites, as these are the best sources of traffic generation. Thanks for reading! We hope this article has helped you learn how to build a website from scratch in 2024.